There are few things more heart-sinking than being sat on your motorbike miles from home to find it no longer starts up. At first, you’re in denial and keep jabbing at the starter button, but it just generates more clicks as the starter motor refuses to kick in. You then have to consign yourself to the fact, you’re not going anywhere in a hurry.
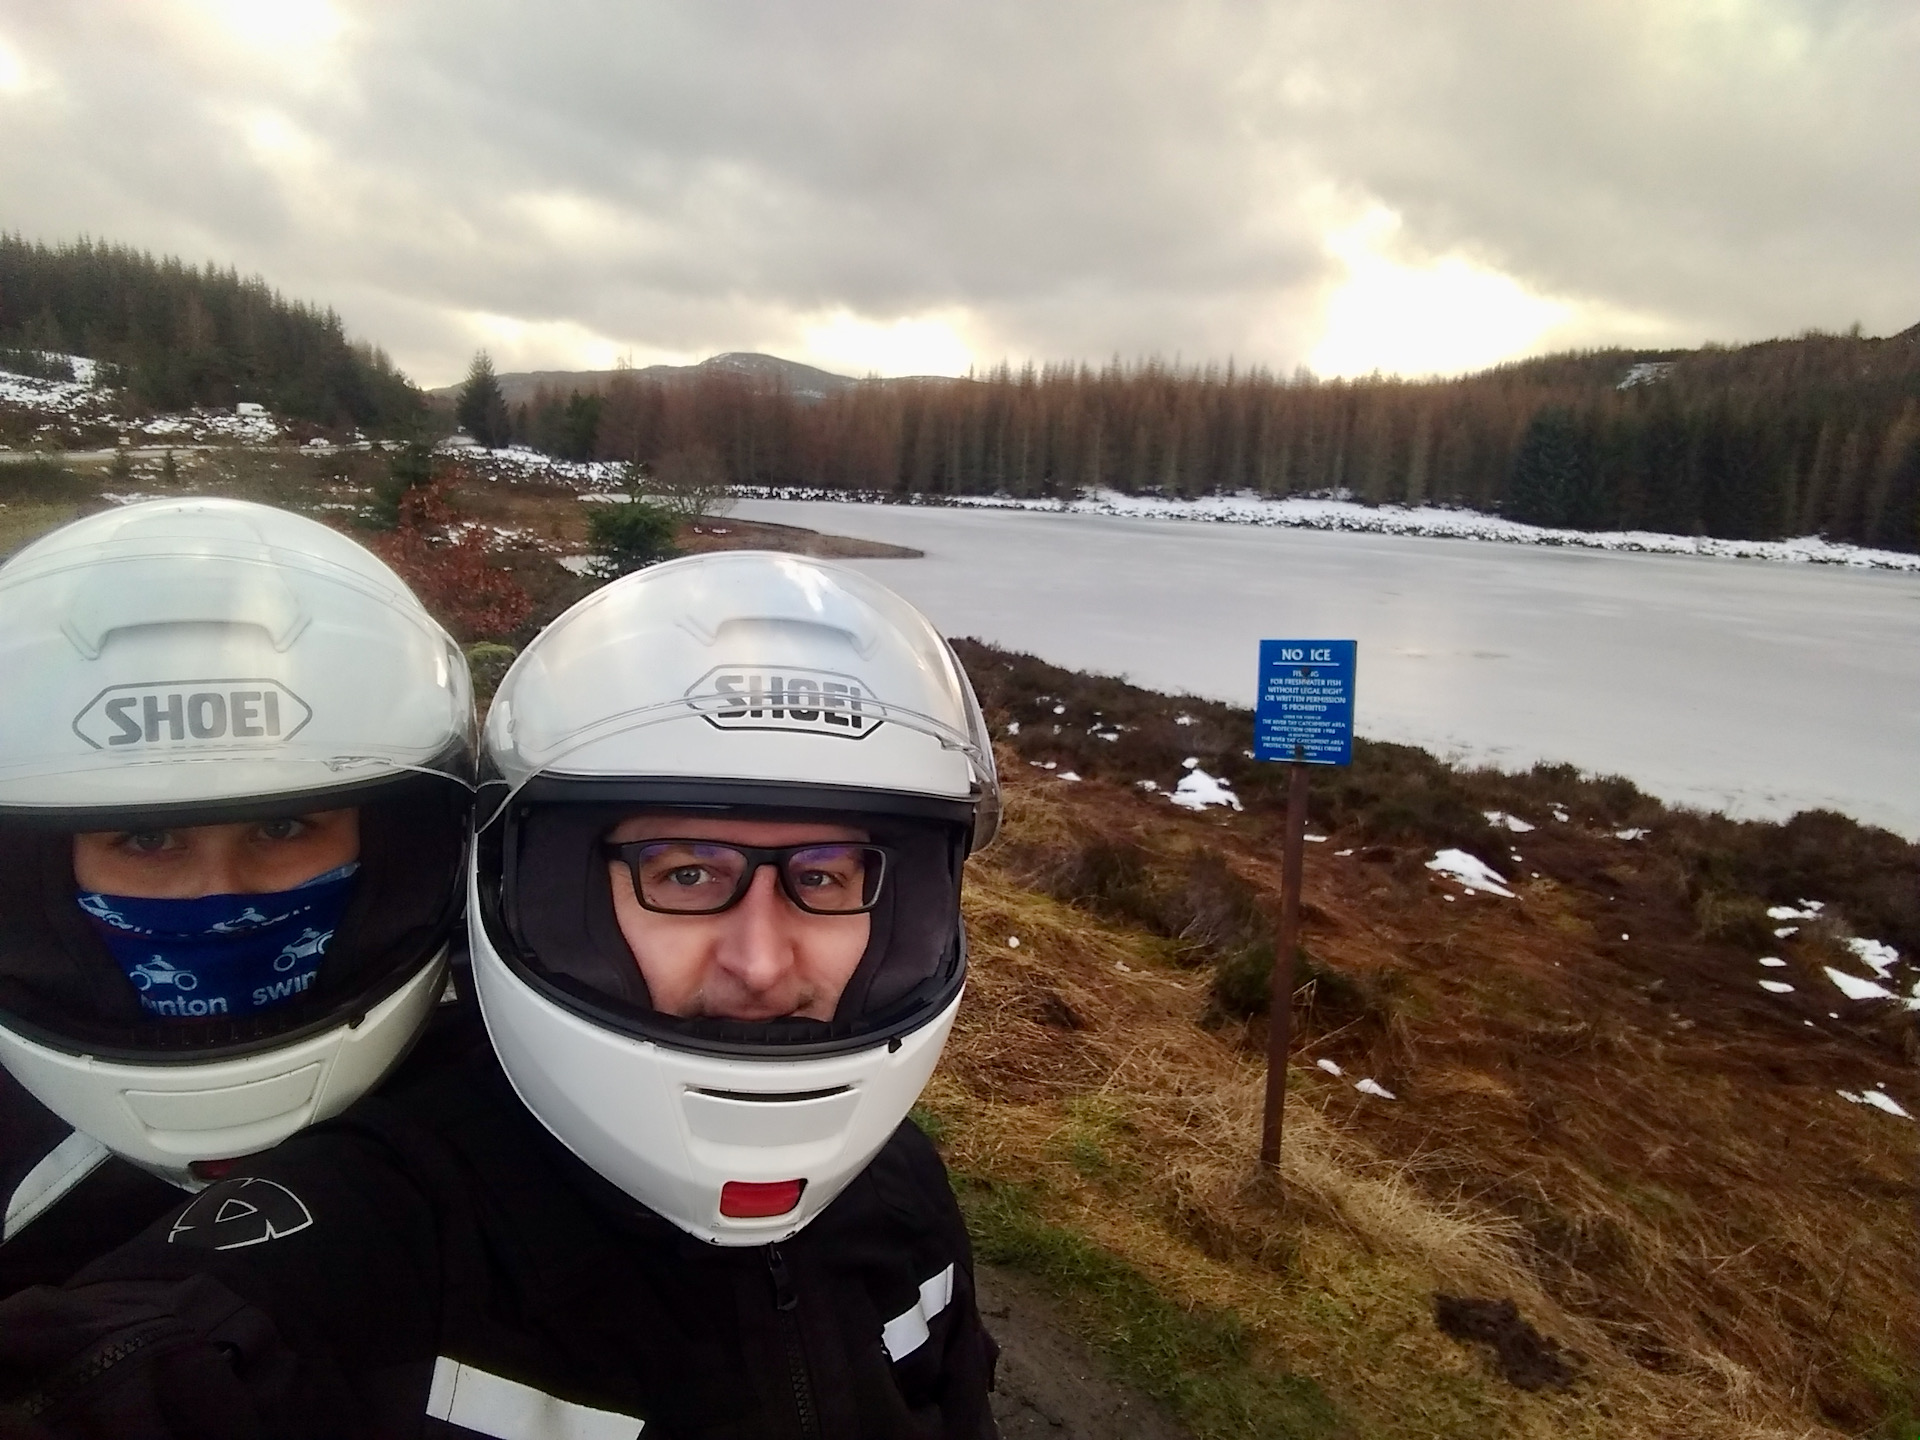
This happened to me a few weeks ago on a cold ride up to Dunkeld. It was one of those beautiful winter days where it was bright and sunny, but cold with frost and snow surrounding the main roads. I had just stopped by the roadside to take some snaps of an ice-covered loch but found myself stuck on a bike that wouldn’t start. Thankfully, my daughter was with me pillion and was able to bump start the bike to get us moving again.
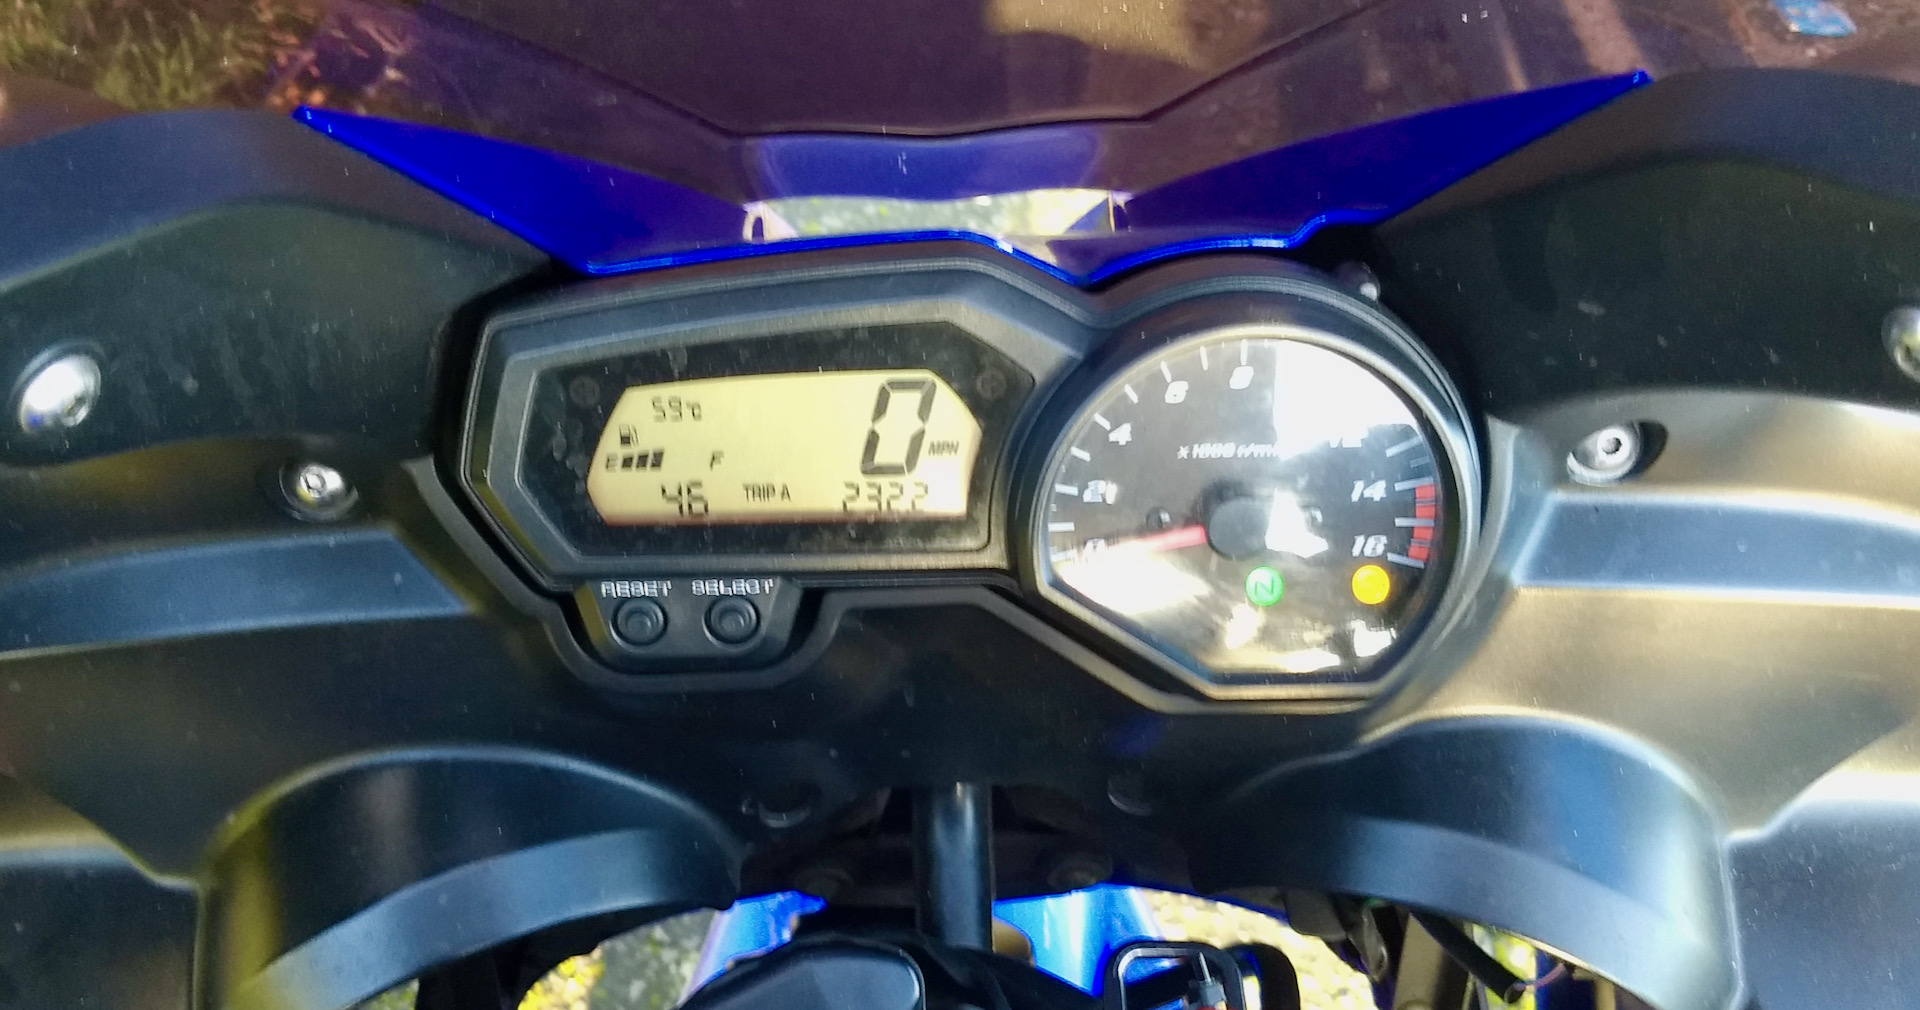
A few miles down the road I got an engine management light on the dash and a code 46. This indicated a low battery/charging system issue. After another bump start, we continued homeward bound. Close to home, the battery went completely flat, I lost the dash and lights, but the bike kept going so we persisted. But, eventually, it died as we came to a halt at a junction, though thankfully only a couple of miles from home and not too much hassle to get family out with some jump leads, charge the bike and get me home. Then began the multi-meter fun diagnosing the faults.
The FZ6 charging system
The FZ6 charging system on a bike starts at the stator (aka generator), which turns the rotation movement of the crankshaft into an AC current via basic magnetism. This AC current is then fed into the regulator/rectifier which will turn it into a steady DC current to then charge the battery. Unfortunately, when either the stator or rectify die, they have a habit of taking out the rest in this chain. Fully discharging a lead acid battery can also cause permanent damage to it too.
 Error code 46 indicated a charging system failure. The fact the battery wasn’t charging when running also indicated this. Attaching a multi-meter confirmed too little voltage when the bike was running. For the FZ6, there should be between 14.1 and 14.8V at 5k revs; I was only reading ~13.1V, not good.
Checking the FZ6 Stator
Next, I checked the stator, here you can check the resistance across the three coils within by measuring across each of the three connectors on the lead coming off it. You can do this easily by lifting up the tank and unplugging the stator lead found in the rubber boot. No need to remove the FZ6 stator from the bike for this check.
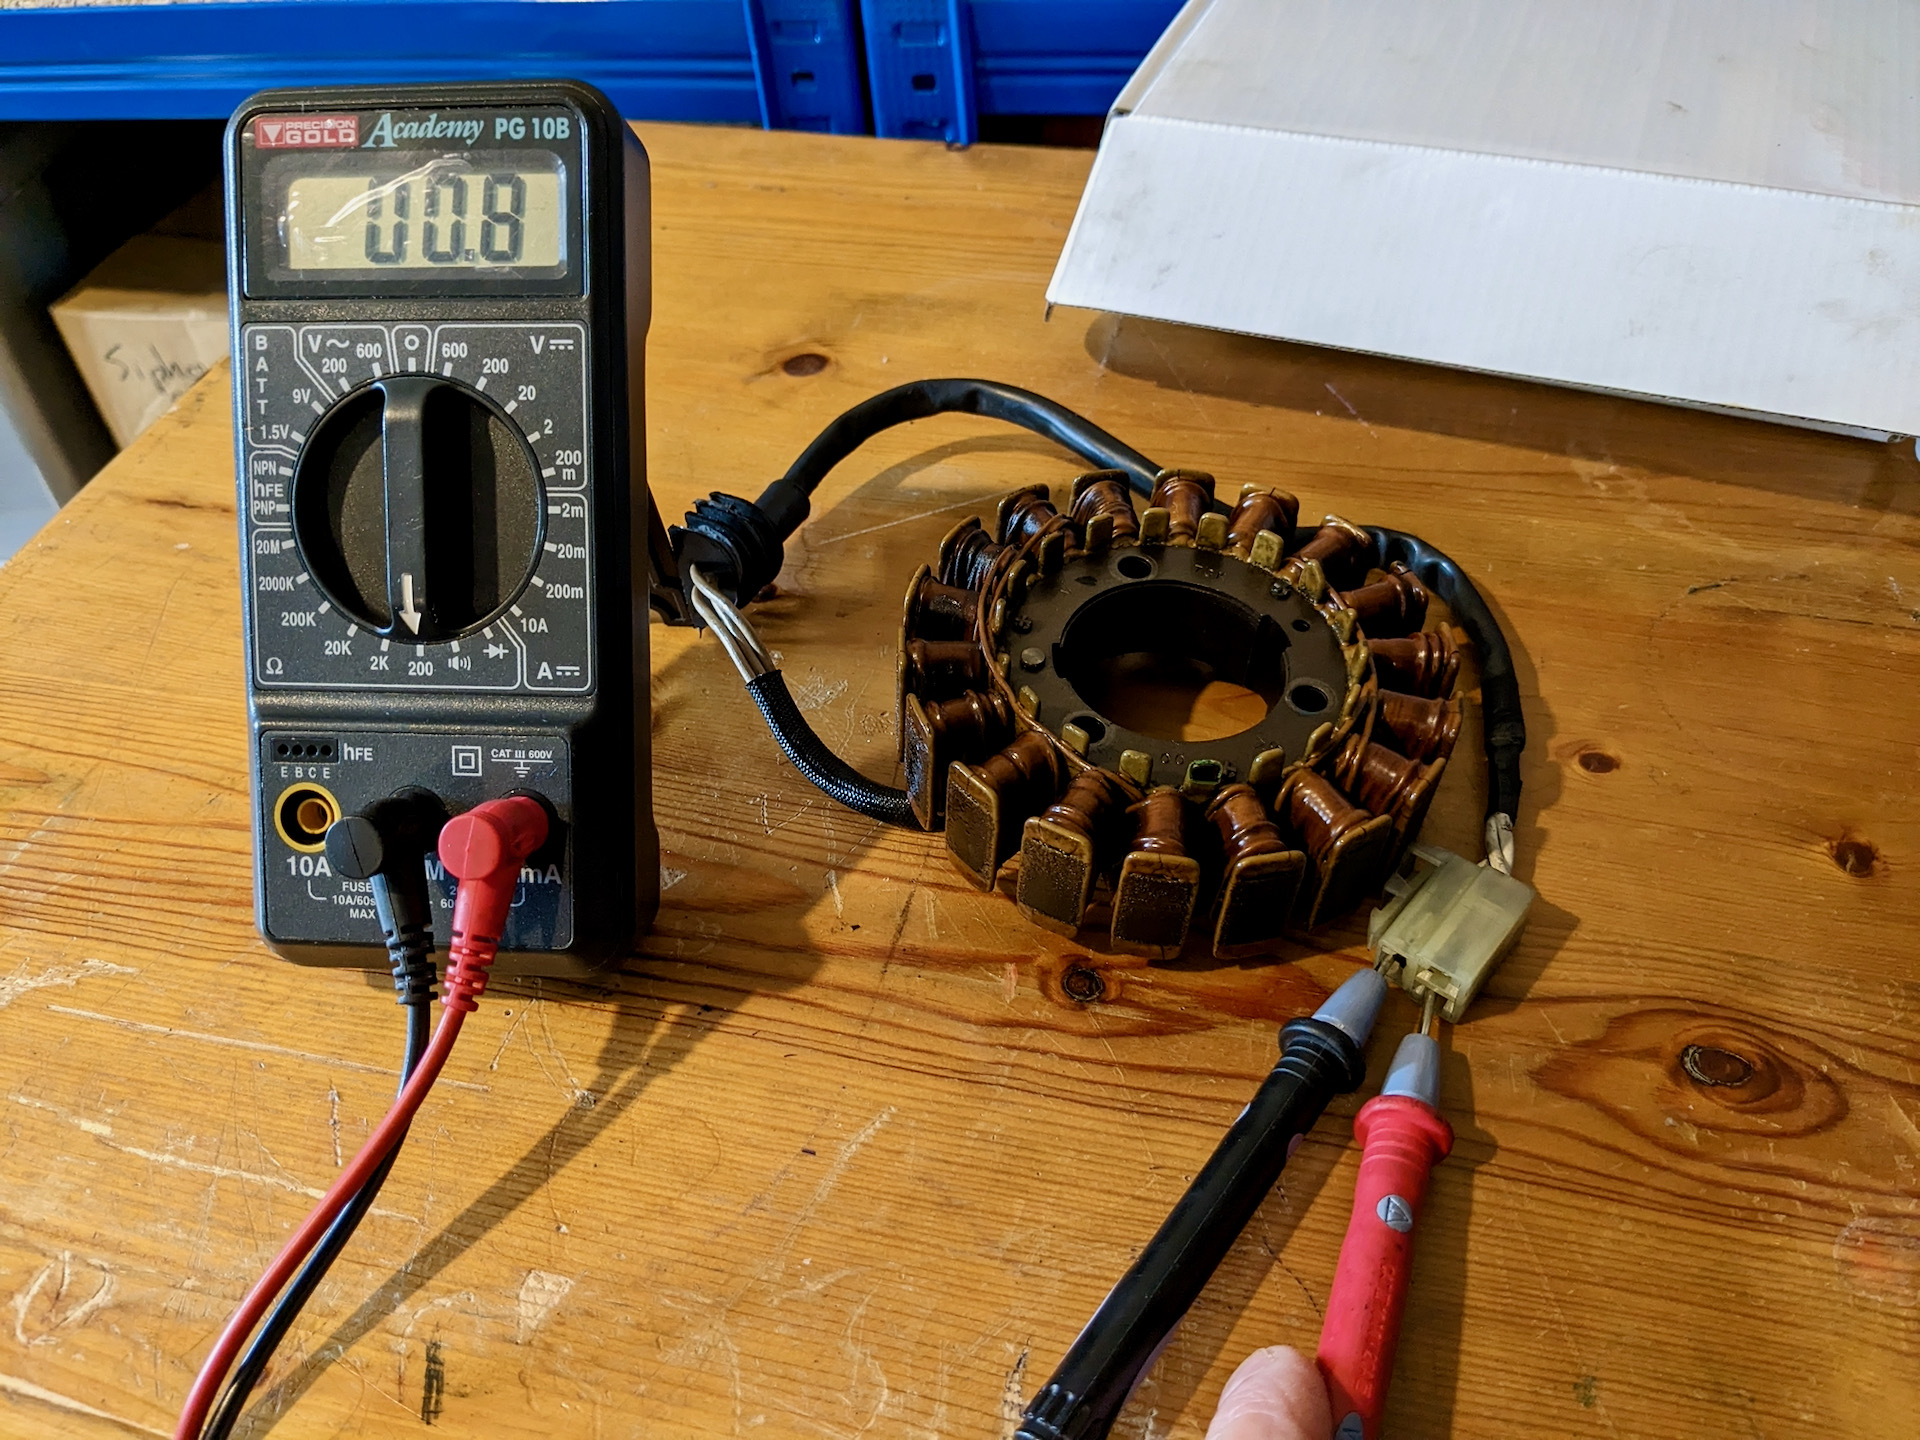
Don’t forget to touch your multi-meter probes and measure the resistance in them first, you’ll need to subtract this from any measurements to get a true reading. The FZ6 stator should measure around 3Ω on each coil, which I read (8Ω measured minus 5Ω measured across probes)
Next, switch your multimeter to measure the AC voltage, so you can check the output with the bike running by measuring each coil’s AC output compared to the ground. I couldn’t find any recommended ranges for voltage output, but 5k revs, I measured around 70V on two coils, but down on the third coil – not good. Internet hearsay reckons 70V is about the right ballpark.
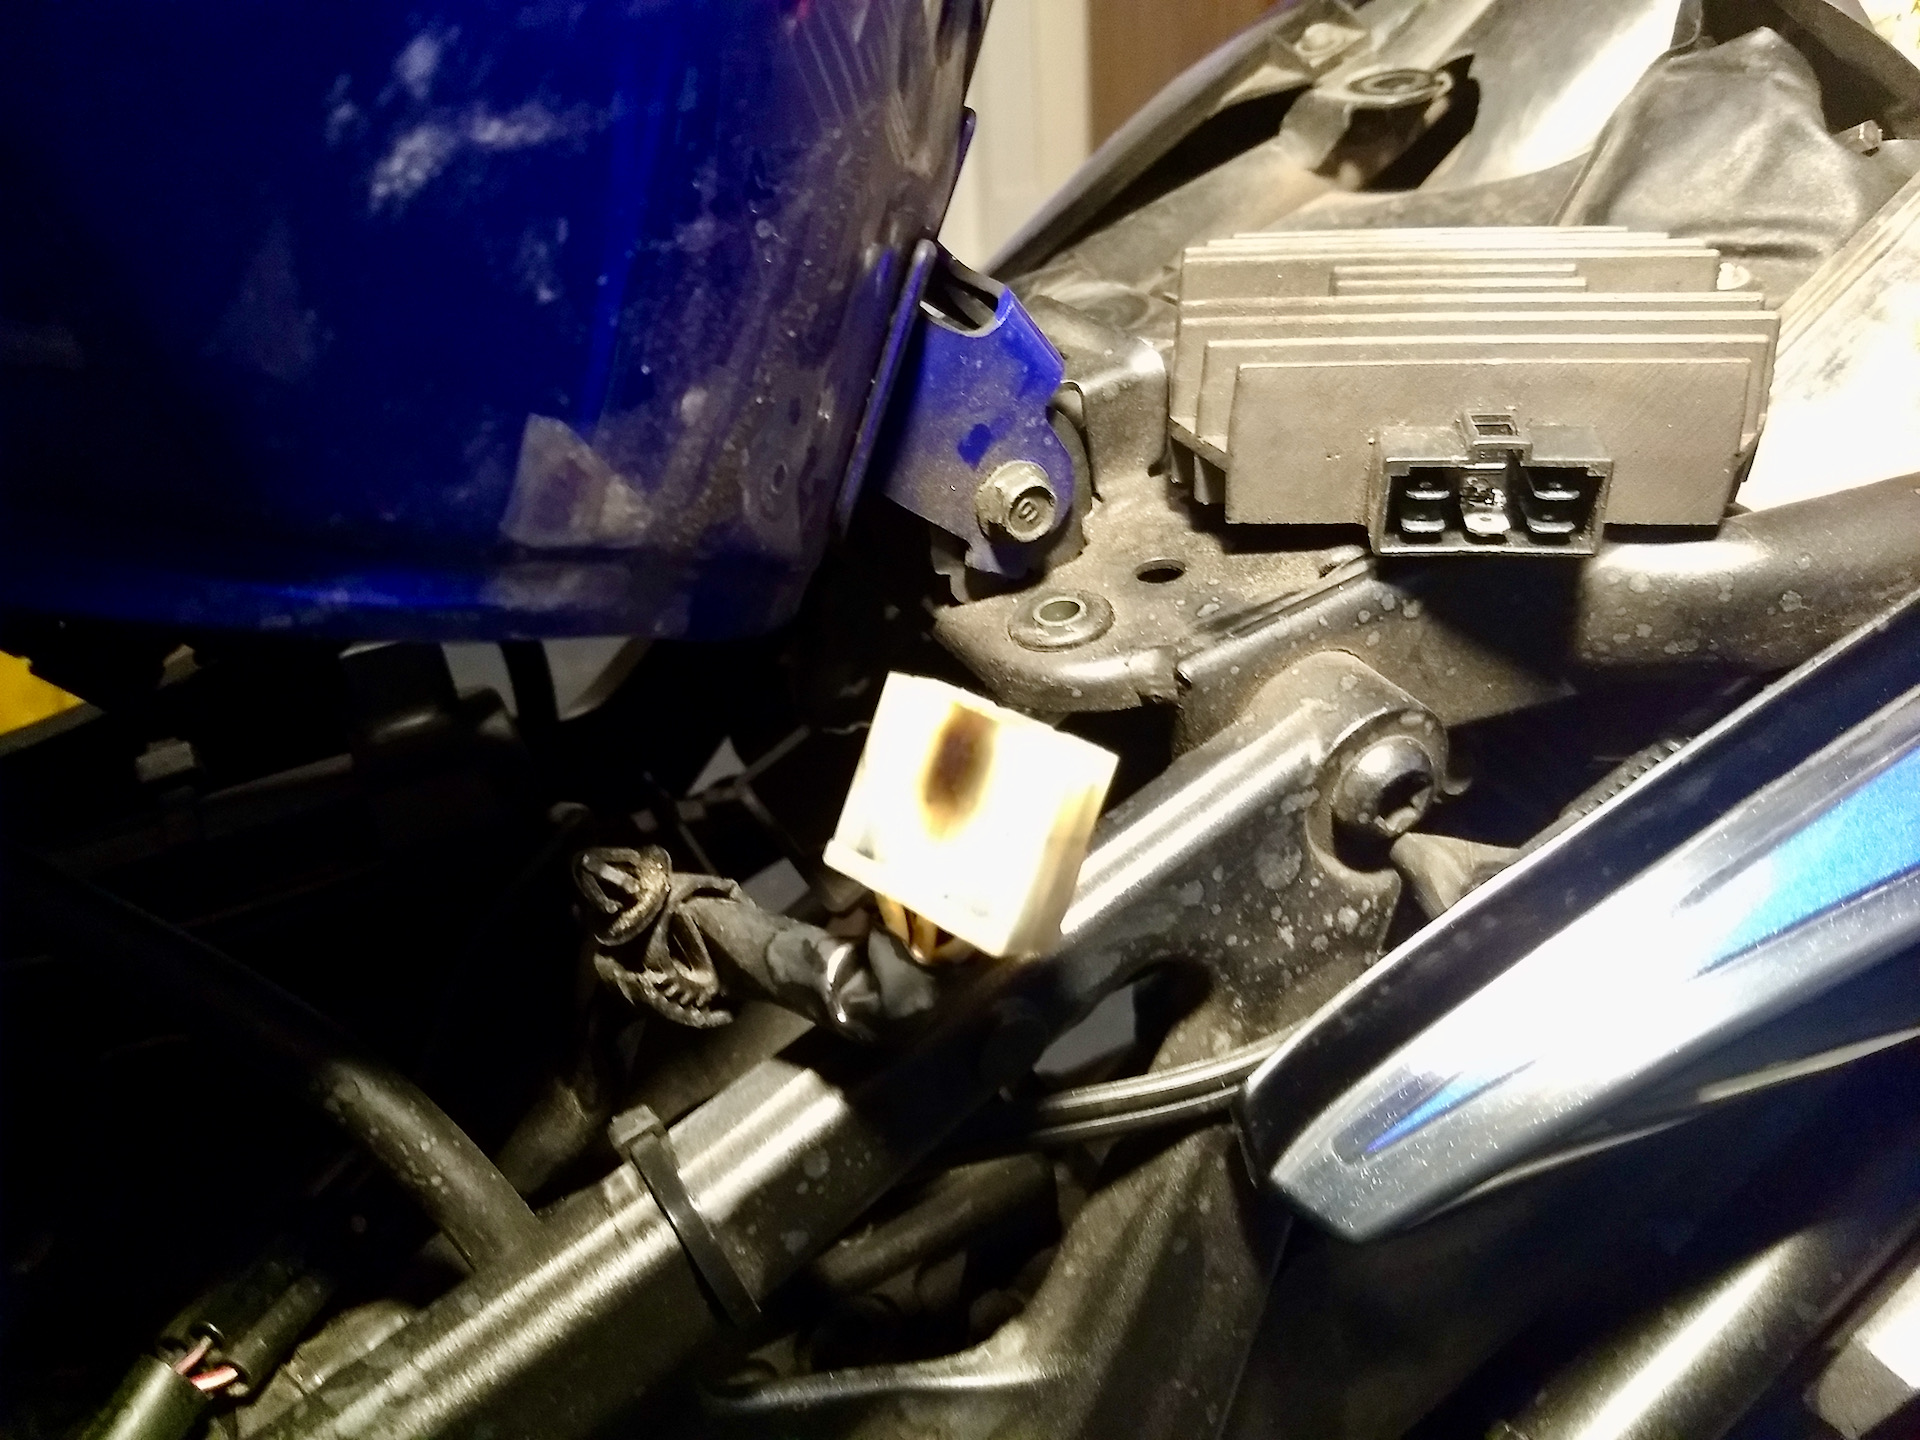
Checking the FZ6 Rectifier
Next, let’s check the rectifier. As well as measuring the output voltage when the bike is running, you can remove the rectifier and perform a diode test with your multimeter. Here you confirm one-direction continuity between the input and output pins, first confirming continuity from each input to the first output pin and then confirming no continuity to the second output pin. Then you switch your leads and confirm the opposite. In my instance, this test actually passed.
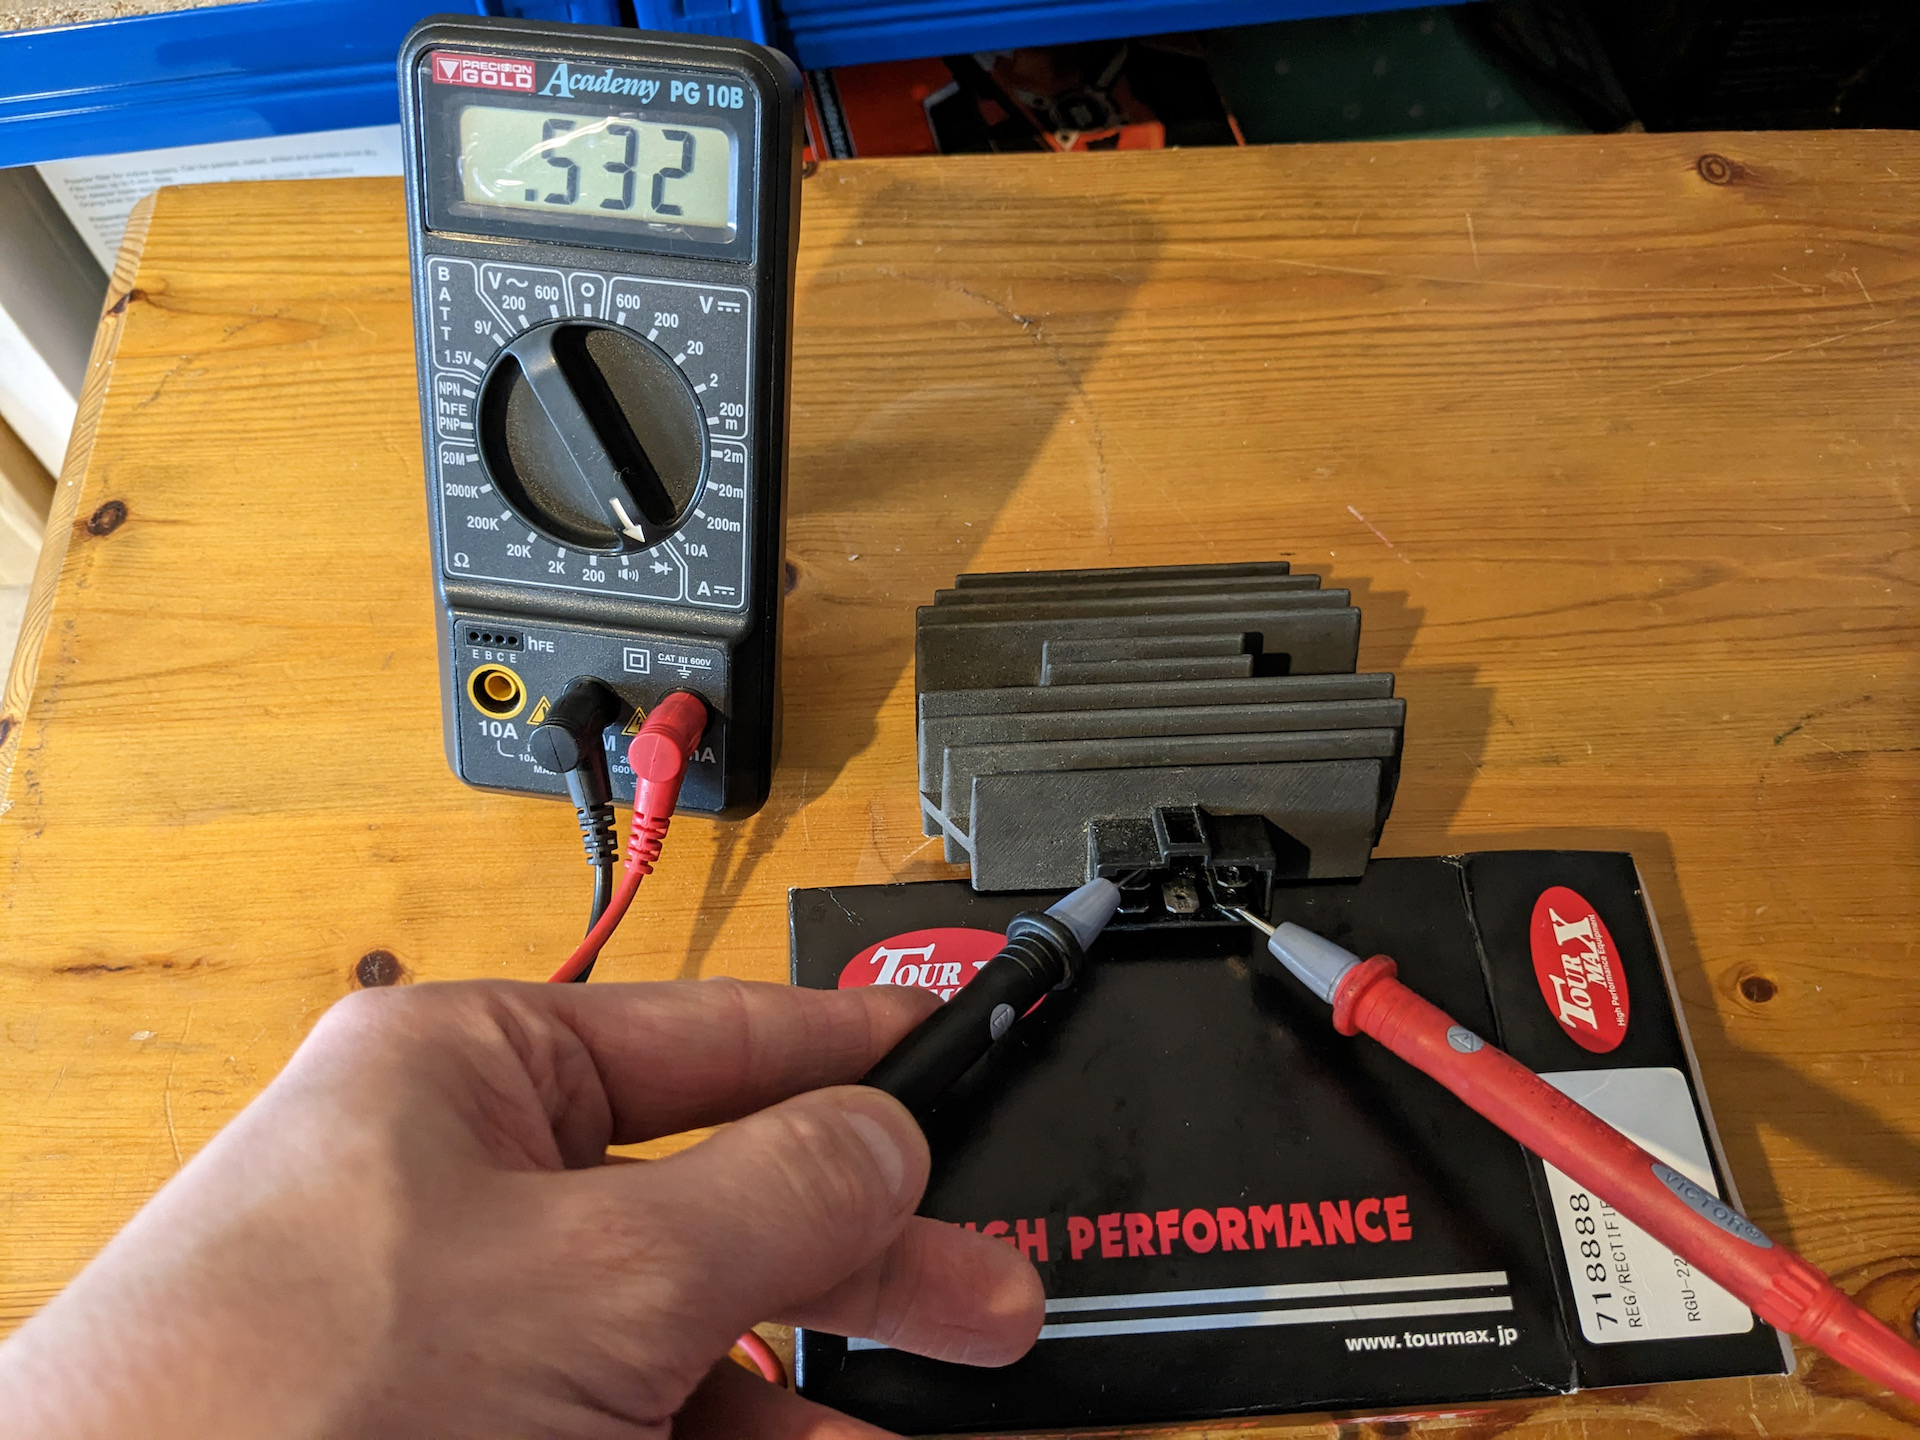
Further investigation revealed some burn marks on the FZ6 rectifier connector by one pin. Not ideal, but everything was still intact and I still had good continuity on the line.
So I bit the bullet and bought a replacement FZ6 stator and rectifier to swap on. The FZ6 rectifier is an easy swap, it has a single connector plug to it and just bolts under the fuel tank hinge. Easier enough to remove with the fuel tank hinged up.
The FZ6 stator is a bit more hassle to replace. It lies bolted to the inside of the left-hand side crankcase cover, so do make sure you have a replacement gasket for later refitment. You’ll need to unplug the stator lead from the loom beneath the fuel tank and then feed the cable down to the crankcase cover so it can be removed with it. To remove the stator from the crankcase cover, you’ll need a star drive socket and a clamp or someone handy to brace the case whilst you undo the bolts, they were pretty tight with thread lock. Note how the cable is clamped down and its rubber seal where it exits the cover.
Refitting the new FZ6 stator was less straightforward as I was using a pattern part, which didn’t quite match the genuine part. It had multiple mounting bolt holes, but it would still only line up in a way that placed the output lead slightly too far away from the crankcase exit hole. I had to strip a little cable wrap off the lead and wrangle the rubber seal along the cable to give me enough slack to line the cable up well. You have to ensure the cable lays flat and behind the screw-down clamp to prevent it from fowling the rotor. All bolts need a bit of thread lock and torquing up, last thing you want is a wee bolt coming loose and sticking to the magnetic rotor. Likewise, make sure nowt has stuck to it during the disassembly… Finally, the cable requires a bit of silicone sealant to provide a waterproof seal as it exits the crankcase cover.
After plugging everything back in, it was time to retest the rectifier output voltage with the engine running again. I measured 14.1V at 5k revs, which is just on the lower bounds of acceptable. However, after a few short test rides, I was returning home with a battery still a bit low on voltage, so I stuck a new battery on too. I can only assume the whole episode had somewhat damaged the battery and it wasn’t holding as charge as it should. Cue a quick trip to local Halfords for a new Yuasa battery, which wasn’t too badly priced at £62.
I did however notice that my heated grips were still occasionally flashing up with low voltage even when riding. I have done the FZ6 headlight mod to enable the two dipped beam bulbs on this bike, which will be drawing an extra 50-60W of power. After disconnecting this mod, I had no issues. So I’ve concluded that this was pushing my charging system to the edge of what it could sustain and possibly that the pattern part stator and rectifier aren’t producing quite as much power as the genuine parts.
It can be a tough call between choosing genuine or pattern parts. But for this FZ6 charging system a genuine rectifier is £283 and a genuine stator (generator) is £414! A pattern rectifier from Tourmax cost me £54 and the stator £145, yeah a bit of a difference. It’s hard to justify £700 for genuine parts on a 15-year-old bike that’s only worth around £2k. There are companies that can recondition and rewire a stator for you, though this wasn’t a route I investigated.
Genuine FZ6 Rectifier from Fowlers
Genuine FZ6 Stator/Generator from Fowlers
One reply on “FZ6 Charging System Failure, Rectifier & Stator Checks”
Hi Arthur,
I have an issue with my cooling fan not kicking in on FZ6 2008. Replaced all parts including the fan on the cooling fan harness side (relay, fuse, temp sensor), but still no join. I read the voltage coming from the battery at the relay plug and it’s only 9V which goes up to 9.5V when I blip the throttle. Any ideas what it could cause that?