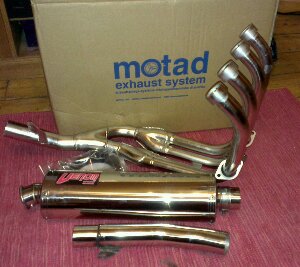
 Recently I splashed out on a new Motad Venom complete exhaust system for my Fazer. Comprising of stainless steel downpipes, a nice oval end can and all the trinkets for fitting. Motad has their factory located in the heart of the black country up in Walsall, which is nice to know as supporting local trade is always preferable. Motad sells their products directly through their eBay shop or their website, and in either case, you can get a better price than going through a reseller. I ordered their full exhaust system; downpipes, gaskets, link pipe, the end can and necessary clamps/brackets. Motad offered me a good price in exchange for a write-up on this blog. The whole lot arrived quickly in a lot smaller box than I was expecting, but dismantled the system is not as large as you first perceive. Upon opening, I had a box full of shiny goodies. All packed well, everything needed for installation included and a short set of instructions for fitting.
Update 2017: Sadly Motad has shut shop and ceased trading. It’s a real shame to see such a good British brand no longer in business.
This is the first time I’ve tackled the fitting of downpipes, but after consulting my Haynes manual, and some guides on the Fazer Owners Club forums and various other websites, it didn’t seem too difficult. Here are the steps I followed.
Preparation
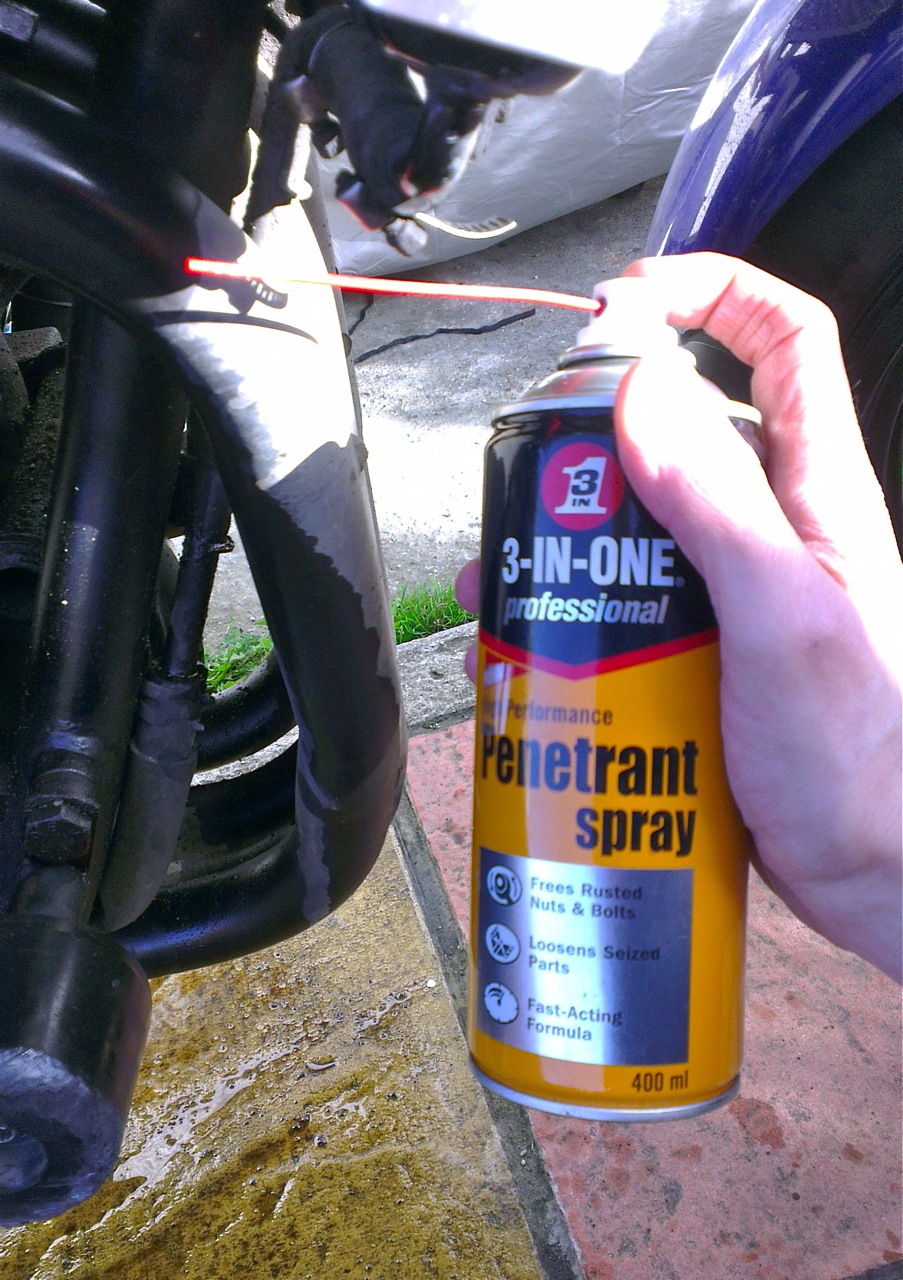
When undertaking the removal of downpipes it is very common for the bolts holding the top of the pipes to the cylinder head to get corroded and seized. The last thing you want to do is snap these causing lots of hassle removing the remaining stubs – think removal of the engine and a trip to a professional engineering firm… With that in mind, you should plan on dousing the bolts with a penetrative spray (see Fig i) each day for the week previous after each ride. This will help loosen and free them ready for when you start the job. Applying whilst the engine is hot will help the spray get right into threads.
Before you start the job give the bolts some extra penetrative spray just to be on the safe side. Then start the bike and get the engine a little warm, as this can make it easy to loosen the bolts. Of course, do watch out, the pipes will be warm too, possibly hot enough to burn.
Removal

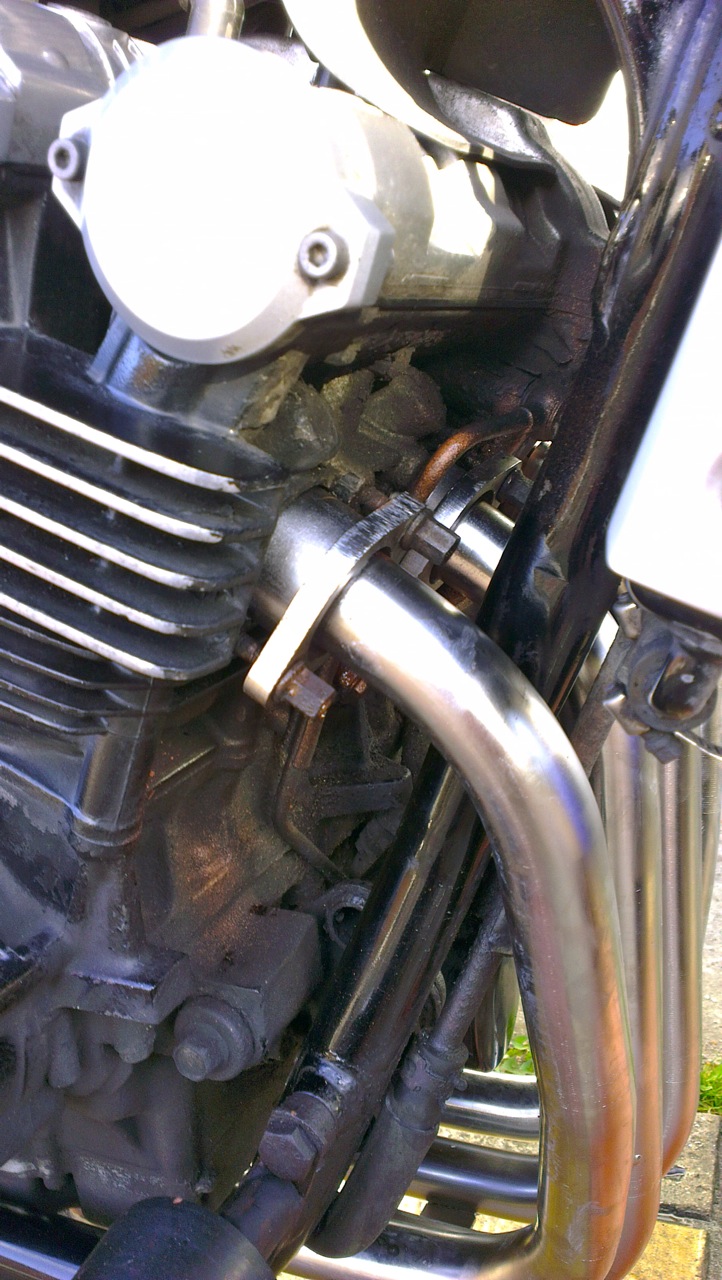
Start by removing the end can. This should be fairly straightforward: loosen the clamp at the end of the link pipe (see Fig ii) and then unbolt the hanger from the pillion peg mount. The can should then just pull it away.
Next, we need to loosen the rear supporting bolt holding the downpipes (see Fig ii). Don’t remove it completely, we still need it to support the pipes, but it needs to be loosened to let the pipes move a little.
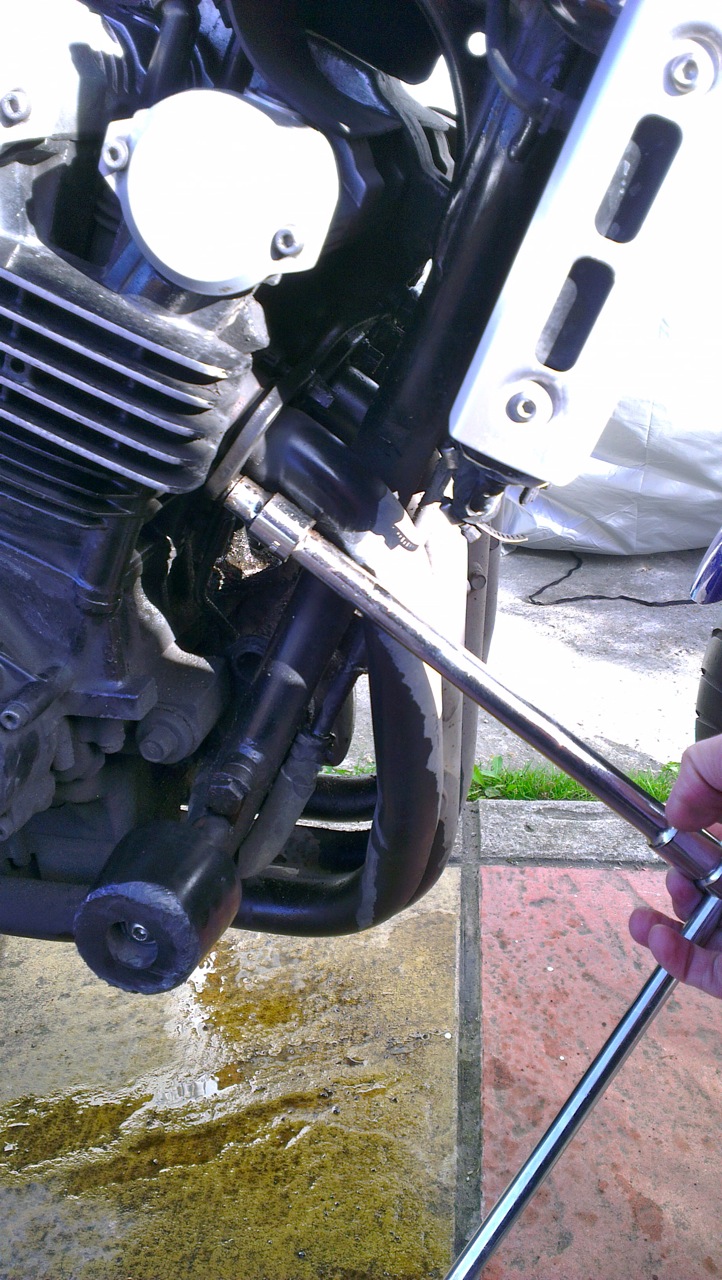
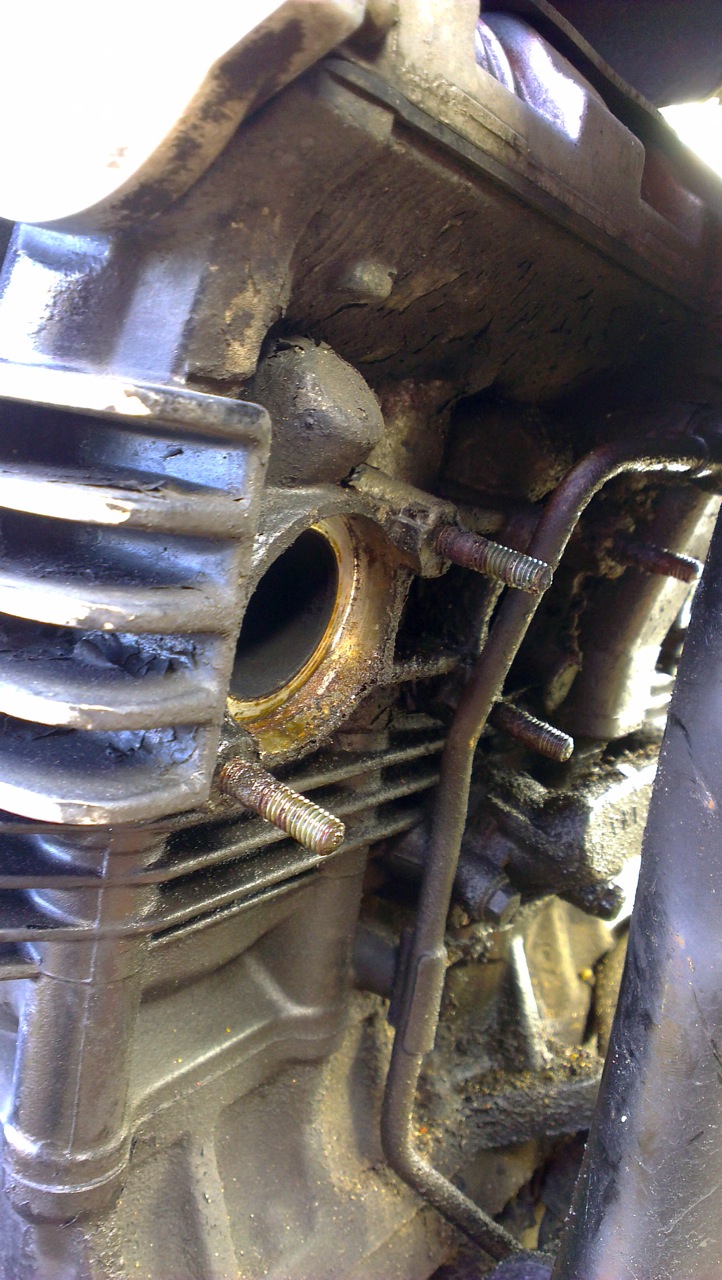
Now for the tricky bit. We need to loosen off all 8 bolts holding the top of the downpipes to the cylinder head (see Fig iii). These are all 10mm bolts, but many a difficult to access due to the pipes and radiator in front. With my standard 1/2″ socket set I couldn’t get to 3 or 4 of the bolts (see Fig iv). I had a mini 1/4″ T-shaped wrench and socket set, which I could poke through perfectly. That was until the plastic T-handle broke off, doh! Otherwise, a small 10mm spanner can just about access the bolts from the side, however, there is very little room to turn.
Carefully you loosen off the bolts, one by one. Just a small turn each at first, moving from each bolt to the next in turn. Tweaking them left and right a little can help break any corrosion holding them. Eventually, they should all come loose and then whilst supporting the downpipes you can remove them all.
Once all the bolts have been removed, you can prise off the clamps. These may just come free on their own, but the two innermost ones on my bike needed some persuasion. Just carefully prise them outwards with a screwdriver or pliers. Prise each side equally, they easily get jammed if at an angle to the cylinder head. It also helps to support the downpipes, keeping them pressed flat against the cylinder head throughout.
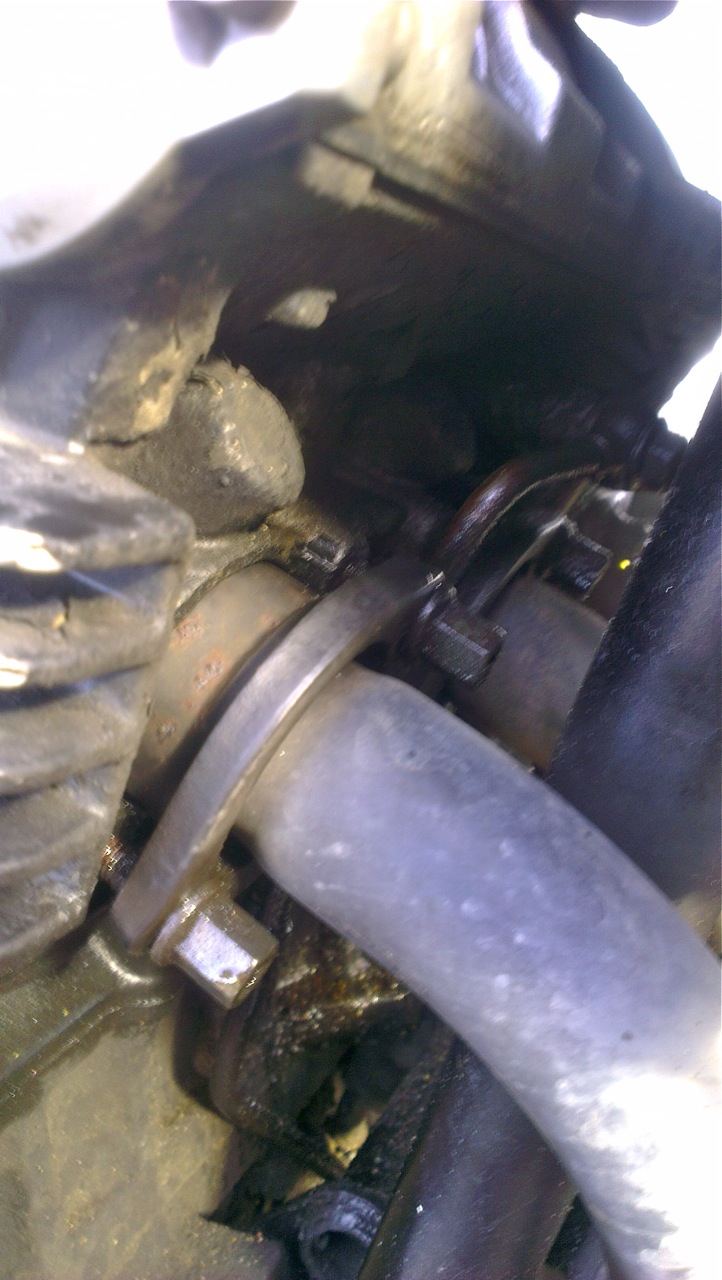
Once the clamps are removed, unscrew the rear supporting bolt completely and the downpipes should just come away easily (see Fig v). Finally, fish out the gaskets that may be still left in situ in the cylinder head. Discard these, they are of no use now.
Next, go put kettle on and ‘av a cuppa, you deserve one.
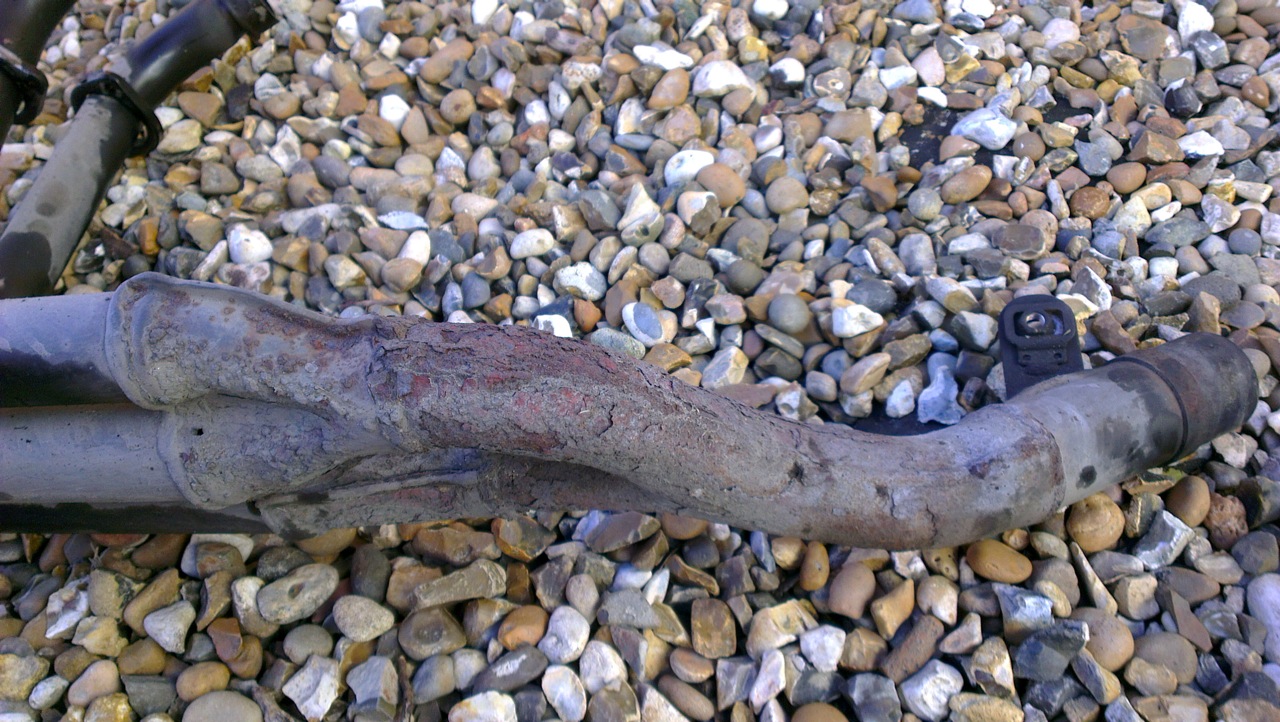
Below are my original stock downpipes. 10 years old and heavily corroded around the 4-into-1 hidden underneath the bike. The new stainless steel pipes shouldn’t suffer this fate.
Installing New Pipes
Wait one minute, put those shiny new downpipes down, and go get the brand-new gaskets before you forget. Pop a spot of grease on them, so they stick in place when placed on the cylinder head (see Fig v). Next, apply a spot of copper grease to the bolts and threads, this will help prevent corrosion and seizing of the bolts in the future. You’ll be glad of this step when you next need to replace the pipes.
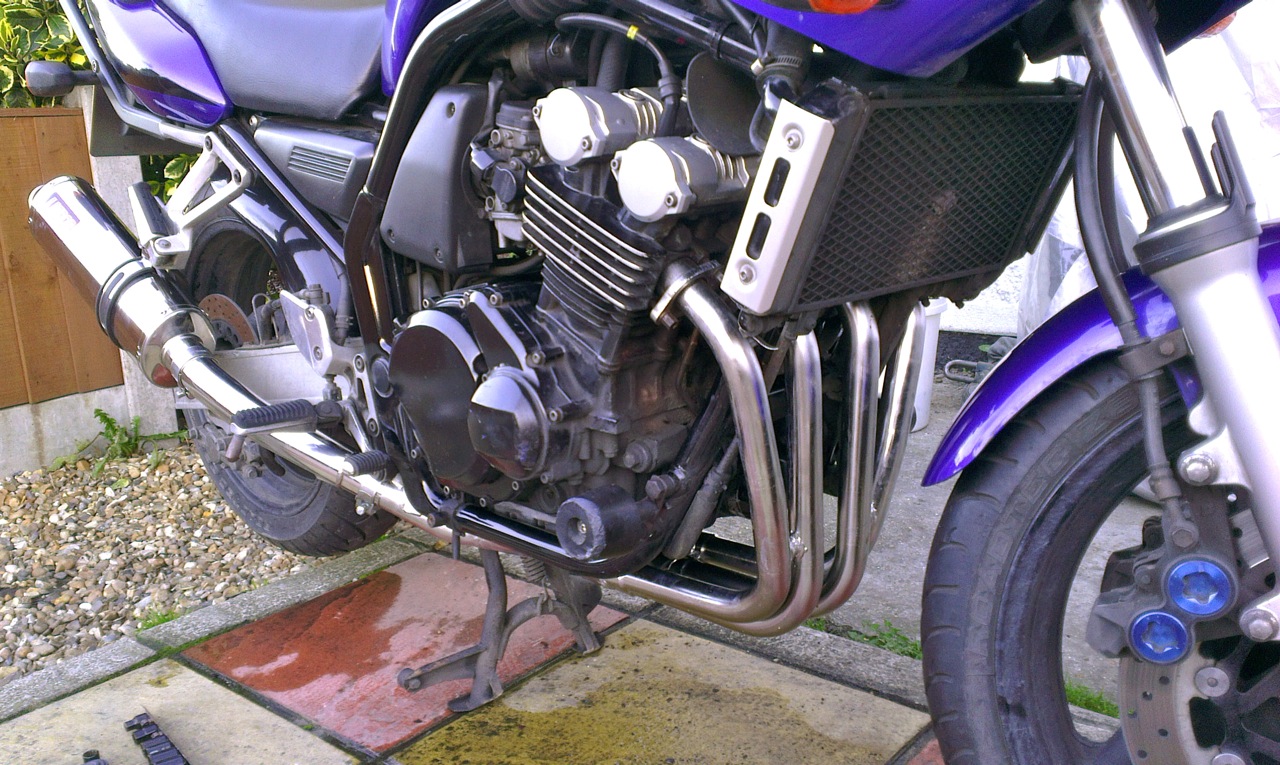
Now you are ready to fit the new stainless steel downpipes. Firstly, marry the pipes up to the cylinder head and ensure they fit nicely. Some lesser brands have been known to not be a perfect fit and need a bit of persuasion with a rubber mallet to fit. Not so with these Motad ones, however, a perfect fit. With the pipes held in place, attach the rear bolt to the pipes, but leave it loose for now. Ensuring the pipes are still supported, slide the clamps up into place and start threading the bolts back into place. The key is to keep the clamps flat, if you tighten the bolt on one side too much, it’ll go at an angle, preventing you from threading the other bolt or not moving the clamp along smoothly and easily. As before, but in reverse, tighten each bolt a couple of turns then move along to the next bolt and repeatedly visit each, giving them all a little turn. The bolts should be tightened no more than 10Nm. If you have a torque wrench, perfect, otherwise go easy that’s a lot less than you might anticipate.
Once all the bolts are reasonably tight, you can tighten up the rear supporting bolt and fit the exhaust can. The exhaust can is fairly self-explanatory to fit. I have left the baffle in the can (for now), the link pipe then clamps to the can (end with kink nearest to can), and then this clamps to the end of the downpipes collector. A simple steel hanger with a rubber insert supports the end can in place. I had to trim the rubber slightly as there was an excess. The hanger may need a little bending to fit snugly all the way around the can.
Once fitted, start the bike up and check for any leaks. Especially at the cylinder head where you may have only tightened the bolts up cautiously. Just gently give them a quick tweak if you notice any smoke escaping. Over the next few days, keep checking the bolts at the front as they may need a little tightening as the system settles in. But do keep in mind that 10Nm maximum torque setting.
The Motad Venom end can has a lovely sound, a soft purring. It’s no louder than the stock can, in fact, a lot quieter than previously with my downpipes riddled with holes! The system is 100% road legal, so no problems there. At a later date, I’ll give the can a try without the baffle, I suspect something louder would be beneficial to ensure I’m noticed when commuting in London.
Overall, I am very pleased with this Motad system. The fitting was very straightforward, no adjustments were required, and everything just slotted into place perfectly. The bike sounds great and handles much better. Obviously better than pipes full of holes, but definitely on par with how I remember the bike when I first bought it. The pipes are finished brilliantly, and the quality is obvious to see and clear to see why Motad are still going strong after 35 years in business. The 304 stainless steel should last much longer than the stock mild steel Yamaha pipes. Since Motad test and tune all their pipes on a Dynamometer you have peace of mind there should be no loss of power.
In closing, don’t forget to inform your insurers if you are swapping stock Yamaha exhaust system to Motad or another third-party brand. The last thing you want is them using this modification as an excuse to weasel out of a future claim by invalidating your policy.