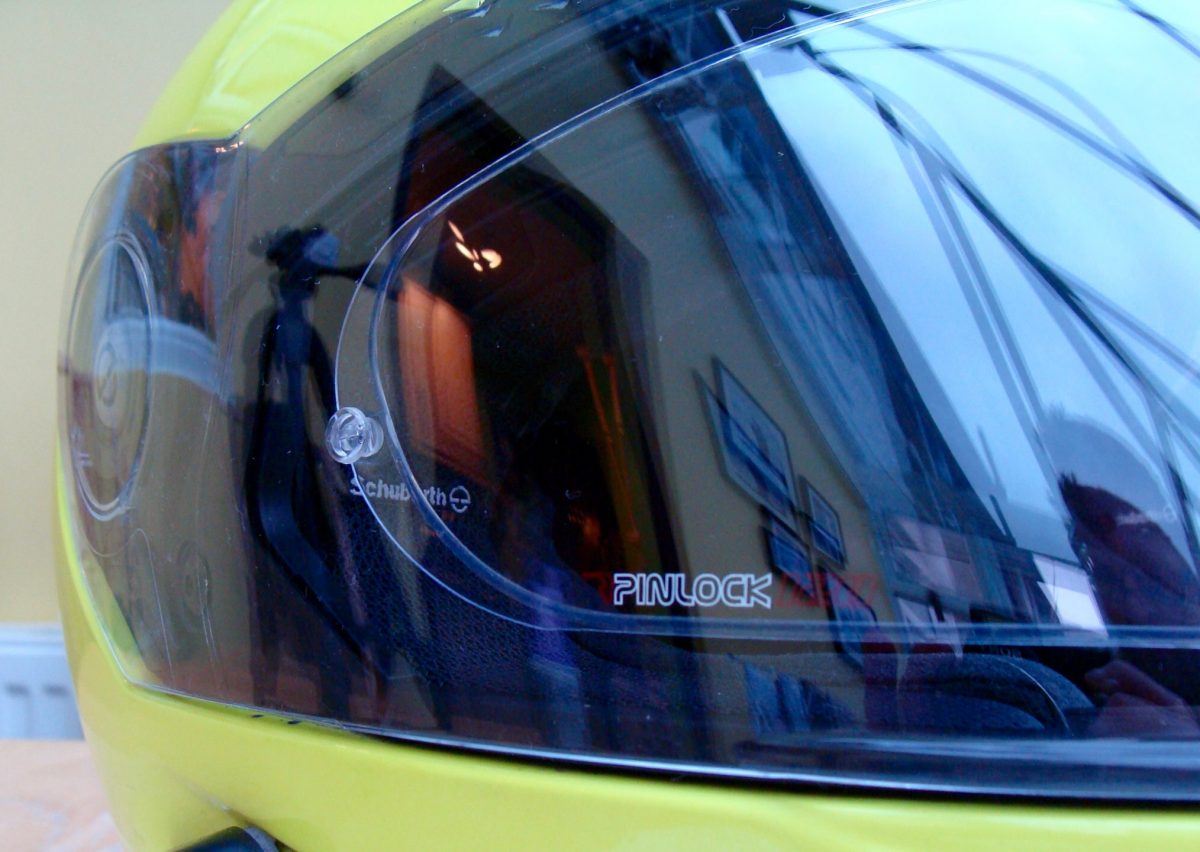
 Pinlock visor inserts are definitely the dog’s bollocks for preventing a misted-up visor. Whether you ride in the winter, the wet or often set off early on brisk mornings; once you have a Pinlock, you don’t realise how much you rely on it – that is until it starts to fail. And a Pinlock visor fogging up is the most frustrating, as you can’t even wipe it clear when it’s misted inside…
From time to time your Pinlock will need a little TLC to keep it working well and remaining mist free. This article explains how to remove, clean, and refit your Pinlock, as well as some tips on ensuring you maintain that crucial airtight seal.
Step 1: Remove Visor
This varies from helmet to helmet but usually involves lifting the visor up, pressing some clips by the side hinges and then lifting the visor up further to remove it. Check out the exact details from your helmet manufacturer.
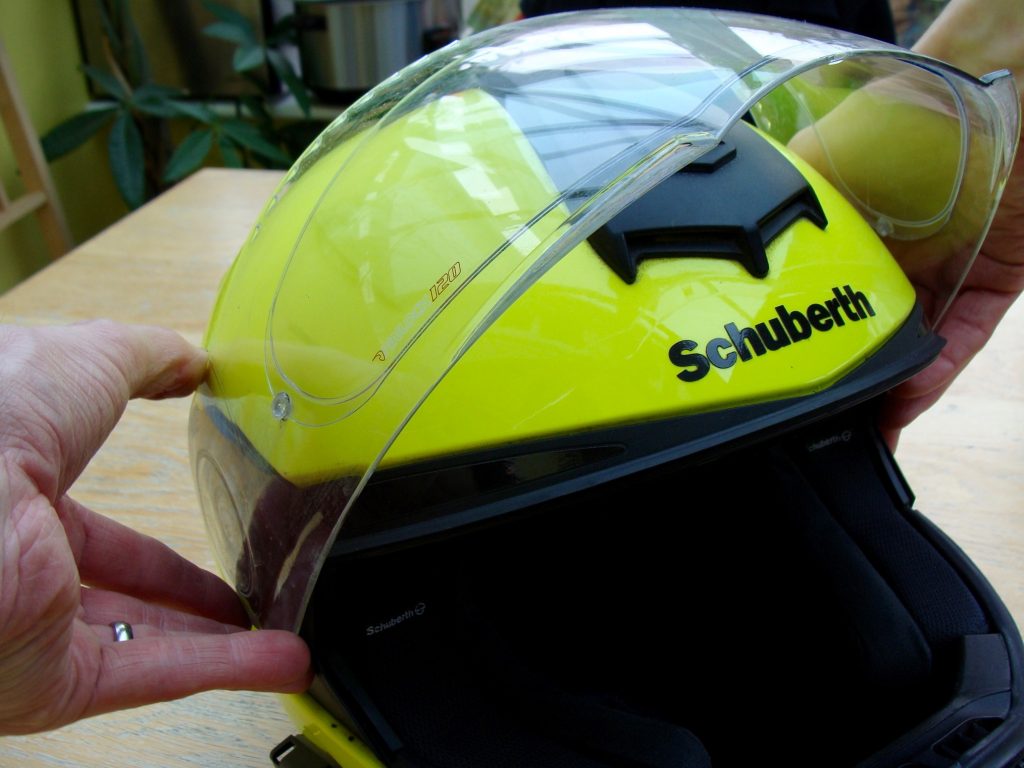
Step 2: Remove Pinlock
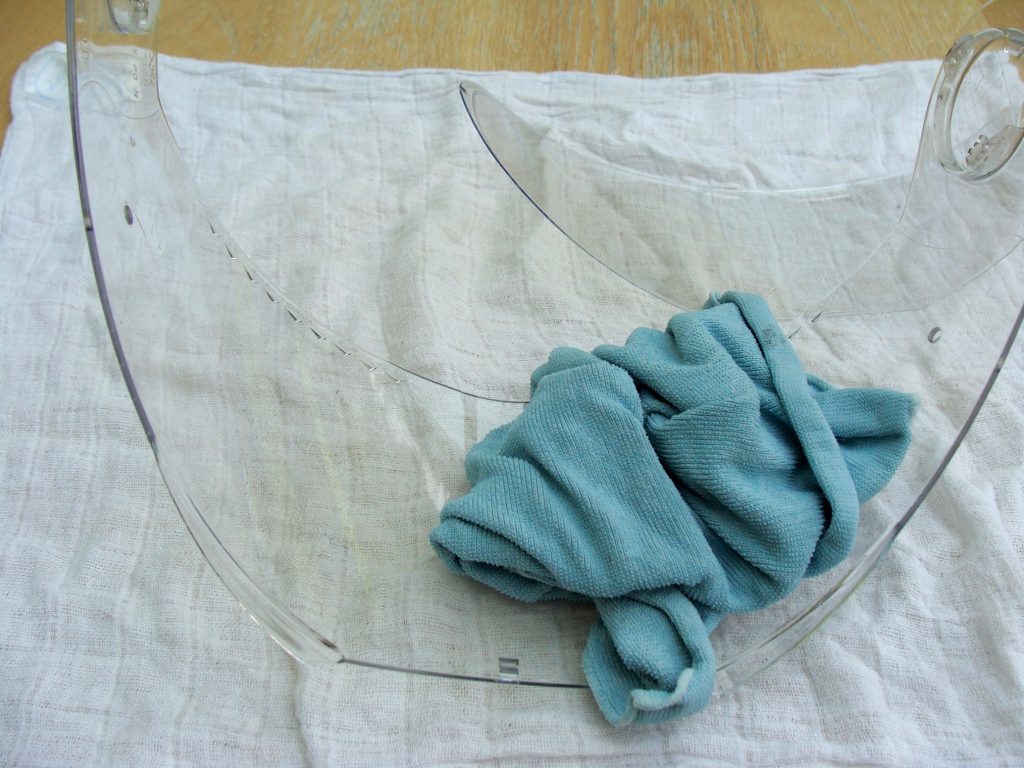
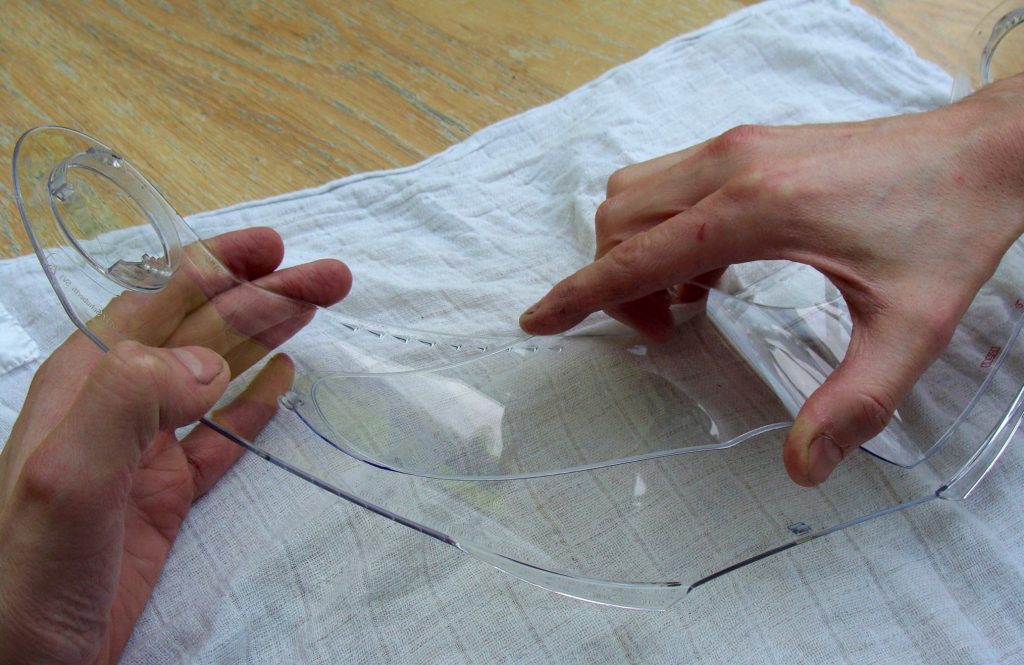
Place your visor face down on a soft cloth, then gently flex the visor slightly flatter. This will loosen the Pinlock and you should be able to prise it up in the centre and then flex each side out from the pins. The knack is to hold one end with one hand, then press down the other end with your wrist, whilst simultaneously prising up the Pinlock with the same hand.
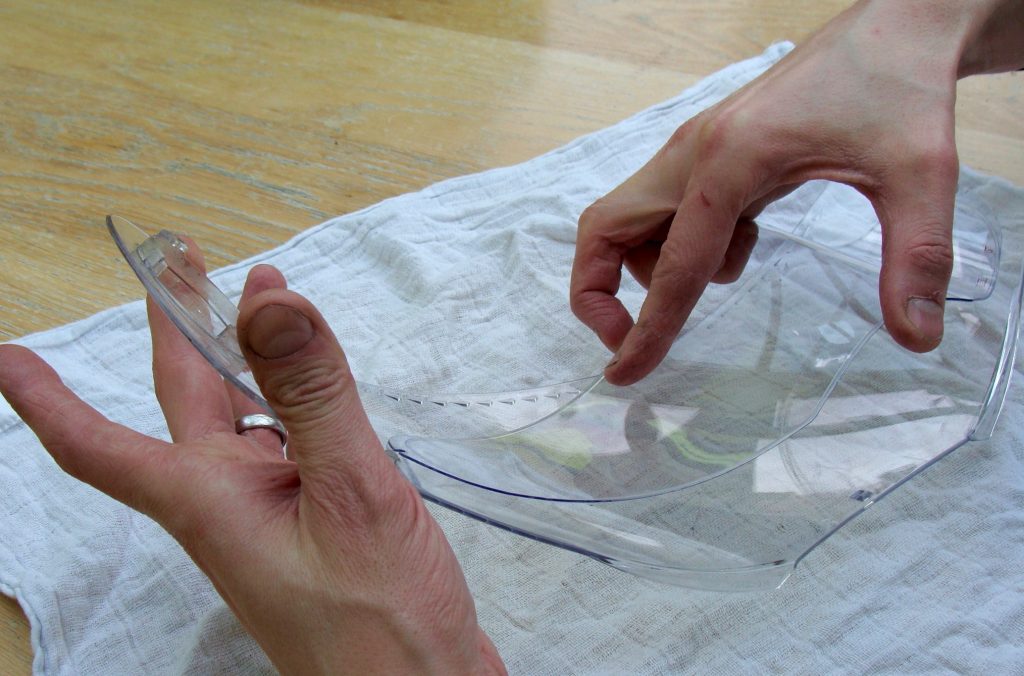
Step 3: Inspect Pins and Slots
Check the condition of the pins in your visor. Note the angle they’re facing, they’re asymmetric with one side cut out to vary how tight they grip the Pinlock. They should pop out easily, but if stuck, fold up a soft cloth and use this to press them out firmly.
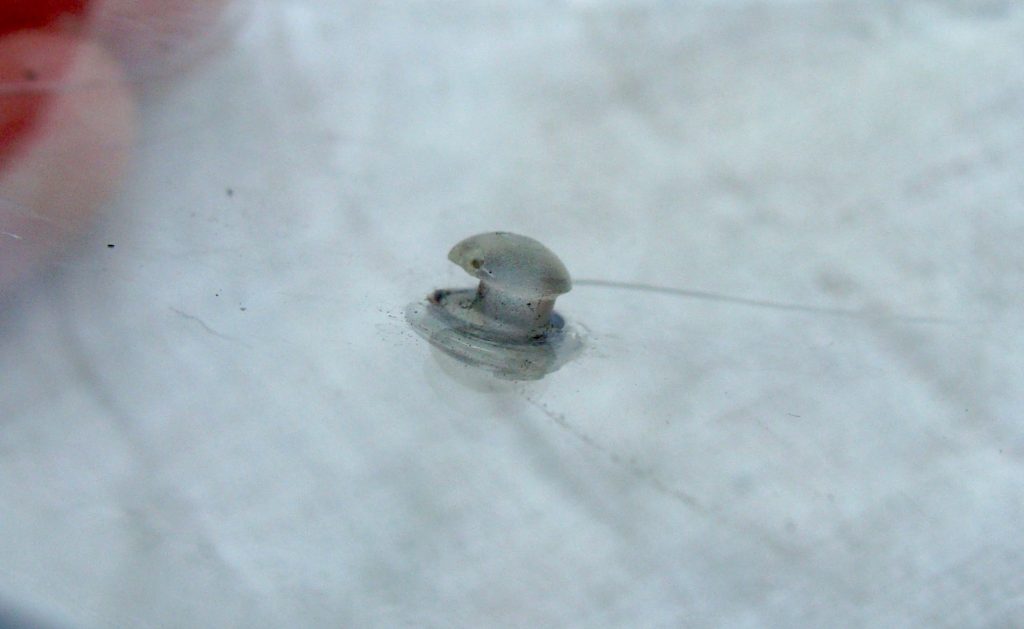
Check the slots on the Pinlock itself. Over time these can wear inwards, if worn too far, it may be time to replace the Pinlock. See in the photo below, the top Pinlock is older and the grooves are worn in more.

Step 4: Clean and Polish
With more soft lint-free cloths and a spot of soapy water give your visor and Pinlock a good clean. Then polish out all the smears and fingerprints, and ensure it is super dry. Any moisture remaining will be sealed in and misted up as soon as you’re out in the cold.
Step 5: Refitting
Refit the pins in your visor, at the same angle as before to begin with. Then place your visor face down on a soft cloth and gently flex flat a little. You can then slide one side of the Pinlock in, followed by the other. I often flex the Pinlock up in the centre to give a bell curve shape to help slot the two sides in, then snap the centre down.
When you un-flex the visor, it should grip the Pinlock tighter at each side and provide a good seal all around.
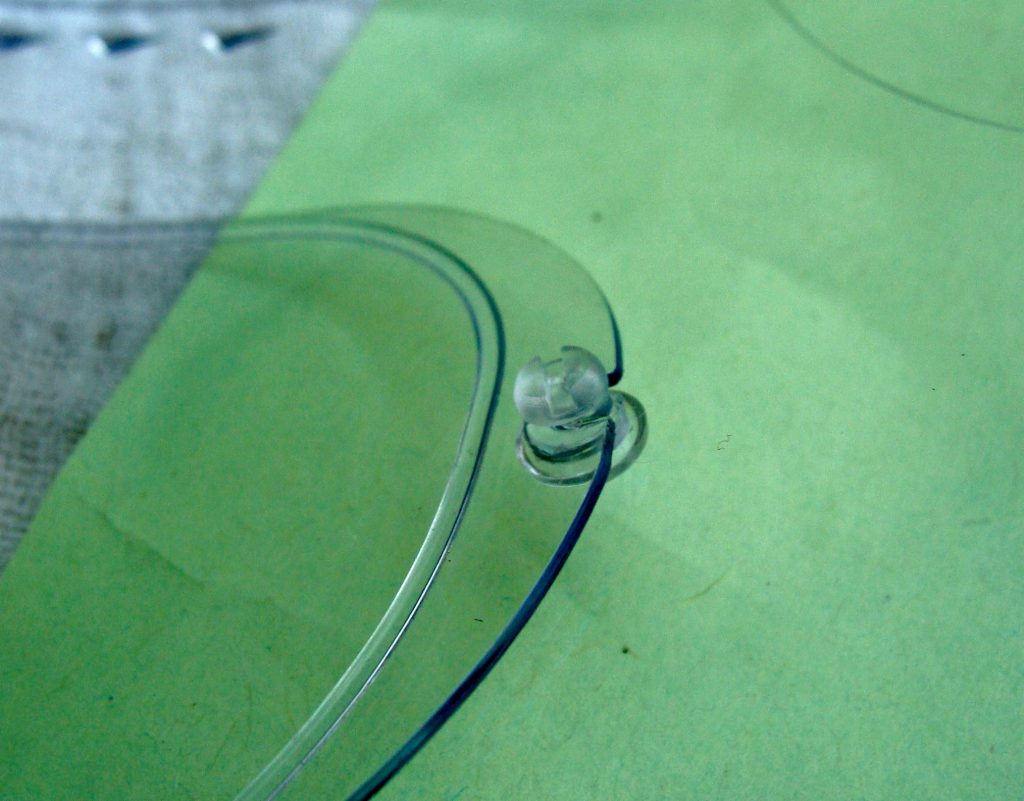
Step 6: Checking the Seal
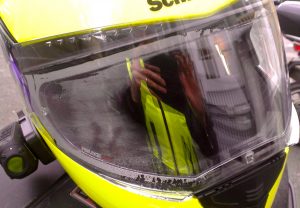
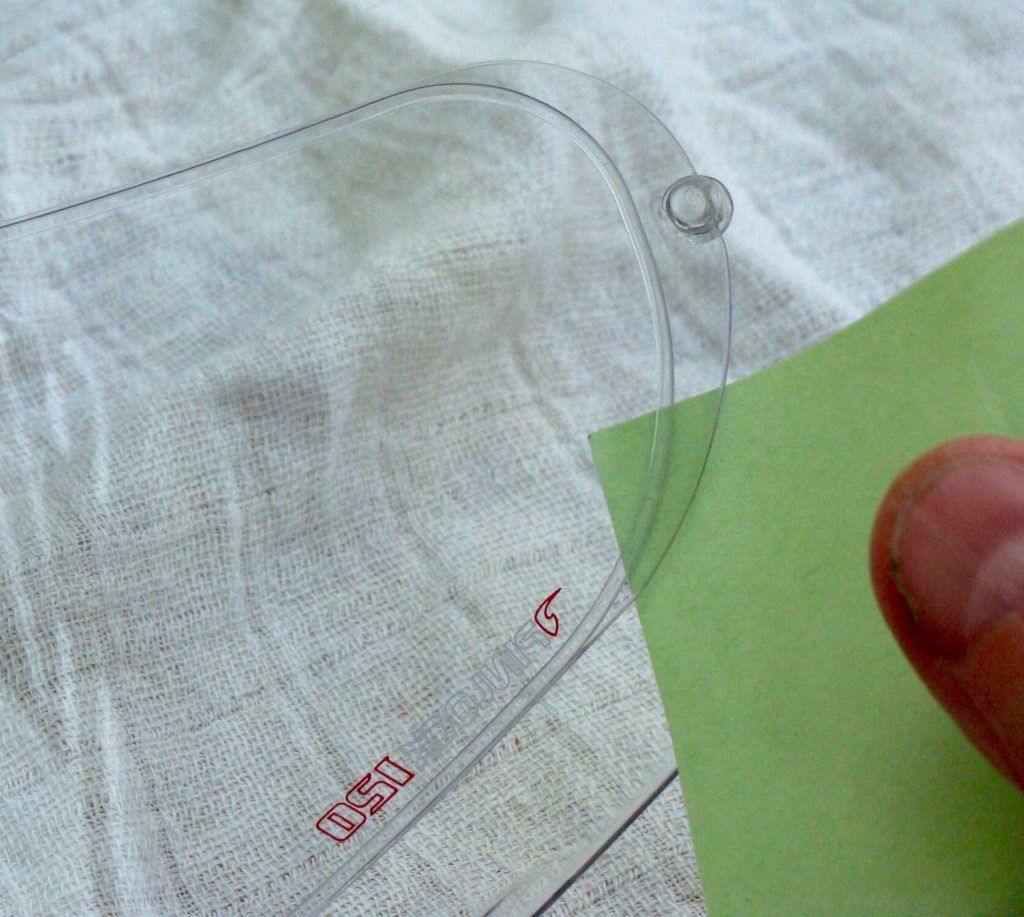
Go around the seal with a piece of paper and see if you can slide it between the two visors and past the bead at any point. If you can’t, you’re good to go. However if you can slide paper past the bead (see photo below), you don’t have a good seal and it will mist up between, so see the next steps. 🙁
Step 7: Remedying a Poor Seal
Remove the Pinlock again (as above). Rotate the two pins so that the cutaway sides are facing towards the two ends of the visor (by hinges). This will cause the pins to lock the Pinlock tighter. Refit the Pinlock and try the paper test again.
If your pins were already facing that way, or this didn’t help, it is probably time for a new Pinlock. The slots on it have probably worn too deep for the pins to grip it tight enough.
Sometimes the pins need replacing too, they can wear and not sit tightly in the visor. These are only about a fiver, but bear in mind they are often supplied with new Pinlock-ready visors, so if your visor is a bit scuffed that might be a better plan.
Finally, if you’ve tried all of the above and you’re still having Pinlock fogging up issues, do get in touch with Pinlock support. In the past, I have found them super helpful and they were able to give some great advice just by emailing them a few photos. Also, do remember to register your Pinlock on their site to receive their free extended 2-year warranty.
Buy a replacement Pinlock Visor Insert from SportsBikeShop
Read more tips on how to stop visor steaming up here.
3 replies on “Pinlock Fogging Up – Maintenance Time”
Mine dogs up on the inner surface . Yes it a real right fit , yes I’ve had it off and on swivelled the pins ,everything g I can think of …
Pinlocks are a con. My Shark visor previously came with anti-fog treatment from the factory, it lasted 4 years or more without fogging up in any condition. The new one has pinlock junk, fogs up around my nose, took it out, dried it with hair dryer and dehumidifier, sealed it, still fogs up on the most cold days. Maybe I fudged it up when installing it, but I refuse to pay £25 for a new insert! GARBAGE.
I appreciate how the author provides detailed step-by-step instructions on maintaining and cleaning the Pinlock system, ensuring that riders can enjoy clear vision and enhanced safety on the road. The article’s unique approach lies in its practical tips and recommendations, which go beyond the generic advice found elsewhere. This valuable information empowers motorcyclists to proactively address the fogging issue and enjoy their riding experience to the fullest. Kudos to the author for sharing such a positive and helpful article!