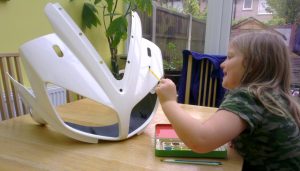
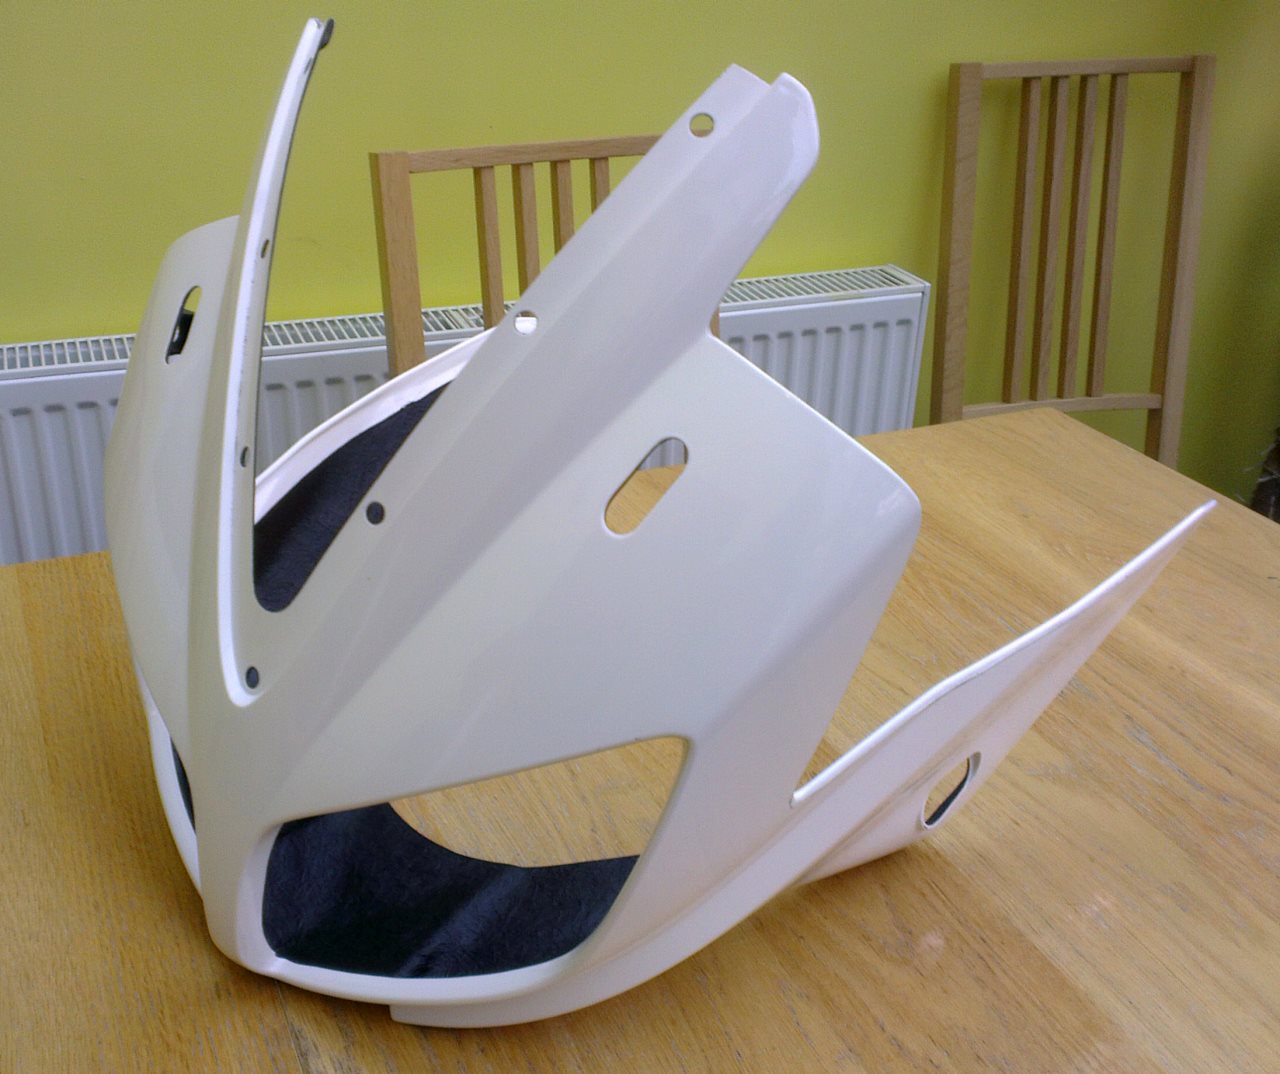
 The new fairing for my Fazer 600 arrived the other day. I have opted for a pattern part, GRP version from CWC (Cars Wants Change) in Poland. As you can see the fairing arrived unpainted with just the white gel coat finish. So my daughter offered to paint it for me. Not 100% it’ll be a good colour match mind… It was far more cost-effective than a genuine Yamaha part and first impressions are good, nice smooth finish in the main. Just a couple of edges that will need a bit of sanding prior to spraying.
Over the next week or so, I’ll get it painted up properly at a local spray shop and then fitted. I don’t think I’ll be able to do a particularly good job with rattle cans at home. Finally, once I’ve stuck on some decals and the Yamaha badge, it should look indistinguishable from a genuine Yamaha fairing. Of course, at a fraction of the price; £125 compared to £500. At that price, it won’t be such a tragedy if I drop the bike again!
CWC make all kinds of pattern fairing, rear huggers and other body parts for all manner of bikes (and cars). Do check them out
 Update: Since writing this it seems CWC are longer trading on eBay. Also, Yamaha reduced the price of their genuine fairings, with a fully painted and colour-matched cowling coming in at around £200. Order directly from your local Yamaha dealer, or Fowlers Parts.
5 replies on “New Fairing For Fazer Arrived”
hi
i want to order fairing for fz6 2007 if you have.
i need the whole kit even with replica, please contact me asap
my regards
Have you not been in contact with your local Yamaha dealer?
I’m curious if you did a test fitting. How well did it fit in comparison to OEM?
It was pretty good actually, no issues with lining anything up. Headlight cluster and screen bolted on fine and the whole lot bolted to bike without issue. The only big difference was the lack of slots down the sides to slot the left and right infill panels in. These would have to be secured solely by the three bolts. I’m sure I have a photo of the bike with it fitted, I shall dig it out for you.
Hello.
If You need some fairings to Your bike please contact with me – CWC
[email protected]
Best regards CWC